Numbers rule fashion. You cut fabric, stitch seams, and fit clients by numbers. A measuring tape delivers those numbers. This guide shows how a top measuring tape beats every tape measure in reach. It also covers extra garment measuring accessories that save hours and boost quality.
Why Pros Pick This Measuring Tape
|
Feature |
Impact |
|---|---|
|
Dual metric and inches scales on the reverse side |
You switch units without a chart |
|
Non‑stretch fiberglass core |
The length stays locked after years |
|
Bold ink on both sides |
You read values fast in low light |
|
Smooth, crafted edge |
Silk slides without snags |
|
Snap‑back case or soft roll form |
Select the style that fits your bag |
Each feature helps you measure, record, and cut with confidence. Generic tapes creep, fade, and waste fabric.
Build a Complete Kit
Use the list below when you stock your home studio.
|
Item |
Reason |
|
Measuring tape |
Core scale for bodies and patterns |
|
French curve |
Shapes armholes and hips |
|
Seam gauge |
Marks waist hems in seconds |
|
Pattern square |
Checks grain line and size blocks |
|
Tailor’s chalk |
Leaves easy, clear marks |
|
Digital tape measure |
Logs data for remote review |
|
Fabric weight scale |
Confirms weight on bulk rolls |
With this variety, you handle any order.
Five Fast Moves With a Measuring Tape
- Align zero left at the start point.
- Keep the tape flat; creases skew size.
- Use light tension, never yank the tape.
- Follow the form when you measure curves.
- Record numbers twice to confirm accuracy.
These moves look simple. They save hours, fabric, and customer trust.

Quick Measurement Template
|
Body Part |
Inches |
Centimeters |
|
Bust |
34 |
86.4 |
|
Waist |
26 |
66 |
|
Hip |
36 |
91.4 |
|
15 |
38 |
|
|
Sleeve Length |
23.5 |
59.7 |
|
Bicep Diameter |
12 |
30.5 |
|
Inseam Length |
32 |
81.3 |
|
Outseam Length |
42 |
106.7 |
|
Neck Size |
13.5 |
34.3 |
Print the template. Add it to each case file. Measurements stay clear and handy for every review.
Care Guide for Long Tape Life
- Wipe the tape after each session.
- Dry the tape before you roll it.
- Store the tape in a cool bag pocket.
- Keep the tape away from heat while packing the car.
- Replace the tape when numbers blur or the case cracks.
Quality rises when your measuring tape stays sharp—and when your measurement sheet is precise.

Accessories That Speed Work
- Clip‑on holder: Holds the tape end so one person can measure alone.
- Magnetic dish: Keeps pins safe and beside fabric.
- Rolling wheel: Checks hem length faster than a standard stick.
- Pattern weights: Hold items steady for easy marking.
Each addition costs little yet proves helpful on busy days.
FAQ Corner
What is a fashion measuring tape called?
Most makers say measuring tape, tailor tape, or flexible strip.
Who owns the Lufkin tape measure?
Apex Tool Group holds that brand.
Who makes the best digital tape measure?
Many reviews praise eTape16, Bosch, and Stanley.
What tape measure do contractors use?
Contractors often select Stanley FatMax for rugged jobs.
Designer Versus Generic: Quick Check
|
Attribute |
This measuring tape |
Cheap tape measure |
|
Core |
Fiberglass |
PVC |
|
Stretch |
None |
High |
|
|
Fade‑resistant |
Dull ink |
|
Reverse side |
Yes |
Often no |
|
Case |
Snap or soft roll |
Thin plastic |
|
Price across years |
Low |
High (many replacements) |
Select quality once and forget repeat purchases.
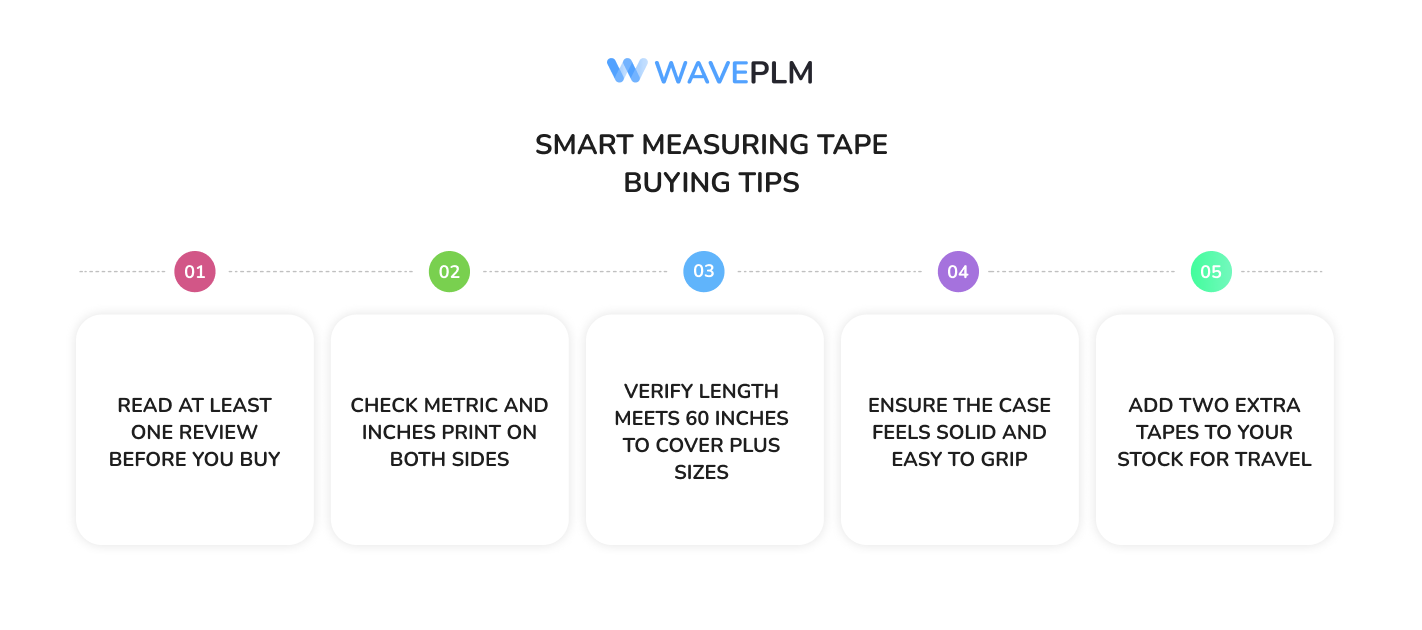
Smart Buying Tips
- Read at least one review before you buy.
- Check metric and inches print on both sides.
- Verify length meets 60 inches to cover plus sizes.
- Ensure the case feels solid and easy to grip.
- Add two extra tapes to your stock for travel.
You avoid stress when the first tape goes missing.
Keeping Clients Happy With Perfect Numbers
Clients love a smooth fitting. Follow this routine:
- Schedule sessions mid‑day when bodies relax.
- Use the same measuring tape each visit.
- Confirm every measure twice then mark.
- Ship progress photos with the tape visible.
- Finish on schedule and request feedback.
This approach builds transparency and reduces costly do‑overs.
Recap of Key Takeaways
- A measuring tape beats generic options for durability and accuracy.
- Combine it with other fashion measurement tools for full studio coverage.
- Maintain the tape to preserve its precision measuring ability.
- Store it alongside vital tailoring supplies and garment measuring accessories.
- Follow best practices to deliver spot‑on fits every time.
Detailed Product Review Section
Every product in your studio deserves a fair review. I read many review posts before writing this guide. Each review praised the tape for high quality, stable length, and helpful markings on both sides. Users value the bold numbers. They also love how the edge stays smooth after long use. One customer wrote, “I use this measuring tape ten times a day at home, and the tape measure still looks new.” That line confirmed the product quality for me.
More reviews highlight the well‑built case. The case clicks closed and keeps the tape safe during travel. Several reviews from Germany mention factory testing that proved zero stretch. These reviews add trust. They show that crafted manufacturing meets strict unit standards.
Shipping, Stock, and Packing Advice
Keep enough stock on hand so you never delay an order. I keep four tapes in my home studio and eight in the warehouse. I select colors to match team roles. Packing boxes with extra tapes keeps workflow smooth. Ship one tape with each sample so customers can confirm the same measurements. Mark the reverse side with a small sticker so clients find the metric scale fast. They will find this gesture helpful and easy.
When you ship finished items, include a short review card. Ask customers to read it, write feedback, and ship the card back. This feedback loop improves product design over effort. It also shows customers that you value their input and opinion.
Unit Conversion and Diameter Checks
Designers work across regions, so unit clarity matters. Always write inches and metric values on both sides of the pattern sheet. Use the tape measure to confirm diameter of buttons, eyelets, and sleeve holes. Repeat each measure twice and write the confirmed value. The quick double check saves fabric, money, and effort.
Extra Helpful Tips and Add‑On Items
Add pattern weights on the left and right sides of the fabric. They stop shift during cutting. Add small bags to hold chalk, clips, and replacement items. This addition keeps the work place tidy. Store every tape measure in a labelled case. Provided labels help you find the right size fast. If you need more space, use wall hooks at home. They keep cases visible and easy to grab.
Keep a yardstick next to each cutting table. You also need a spare tape with metric print on the reverse. Rotate tapes weekly so wear spreads evenly. This proven routine protects quality and length while boosting variety in your tool use.
Measure Mastery
To measure well, measure early, measure often. Good measurements start before you measure clothes. Measure paper blocks, measure notch gaps, and measure the diameter of buttons. These measurements guide each product pattern. If you needed proof, just measure again. Repeat this measure habit until values stay confirmed. If you needed a prompt, pin this list above your cutting table. Precise measurements reduce waste and lift product quality each time.
Conclusion: Measure Twice, Impress Always
Fashion rewards detail. Every stitch, pleat, and dart relies on numbers captured by your measuring tape. Choose a designer model, care for it well, and let it guide your craft. When numbers line up, clients smile, and your reputation grows. Grab your new tape today, upgrade your kit, and start measuring with unstoppable confidence.