Learning how to read a tape measure for fashion designers covers both imperial (inches) and metric (centimeters) sewing tape measure markings, body measurements for clothing, pattern making measurements, and common mistakes to avoid — so your garments fit right from the first cut.

Last updated: May 2026
In the world of fashion design, precision is paramount. Creating garments that fit perfectly and look stunning requires accurate measurements. A tape measure is one of the most essential tools for a fashion designer. Understanding how to read a tape measure for fashion designers correctly can significantly impact the outcome of your designs. This comprehensive guide covers sewing tape measure markings, body measurements for clothing, pattern making measurements, and advanced tips — so you measure right every time.
What Are the Parts of a Sewing Tape Measure?
Before diving into reading sewing tape measure markings, it helps to know the three key components:
- Tape: The flexible strip marked with measurement units, usually made of fiberglass, plastic, or cloth for body-contouring accuracy.
- Housing: The protective case that holds the tape, making it easy to retract and store.
- Hook: The metal or plastic tab at the end that anchors the tape to a surface or seam edge when measuring.
What Measurement Units Does a Fashion Tape Measure Show?
Most tape measures feature both imperial (inches and feet) and metric (centimeters and meters) units. Fashion designers often use both systems, especially when working with international clients or patterns. Imperial tapes show inch designations, half inches, quarter inches, eighth inches, and sixteenth inches, while metric tapes divide each centimeter into 10 millimeters.
How Do You Read Sewing Tape Measure Markings in Inches?
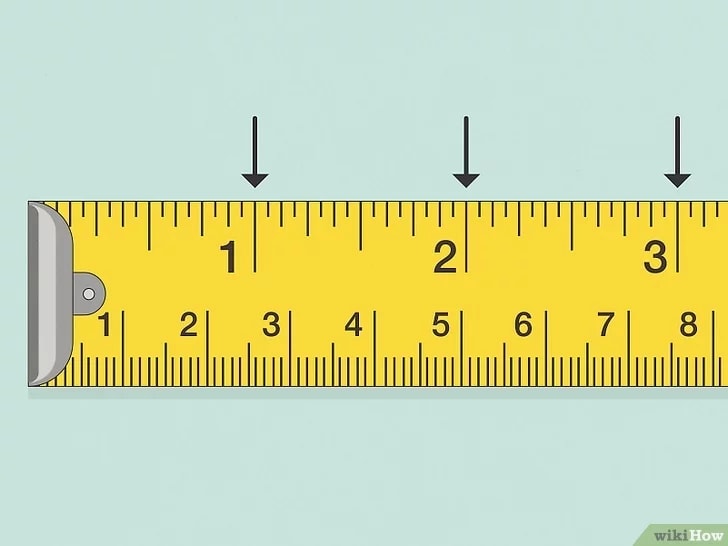
The tape is divided into feet and inches. Each inch is further divided into fractions — the most common sewing tape measure markings are:
- 1/2 inch: The half-inch mark sits midway between inch marks — the second-longest line on the tape.
- 1/4 inch: A shorter line at the midpoint of each half-inch span.
- 1/8 inch: Four of these fit between each half-inch mark.
- 1/16 inch: The shortest lines — eight fit between each half-inch mark. The longest lines = whole inches; shortest lines = 1/16 inch.
Example: Reading an Imperial Measurement
If the measurement falls on the 3-inch mark and four small lines past it, you are looking at 3 and 1/4 inches. This level of precision is crucial in fashion design, where even a small deviation can affect garment fit.
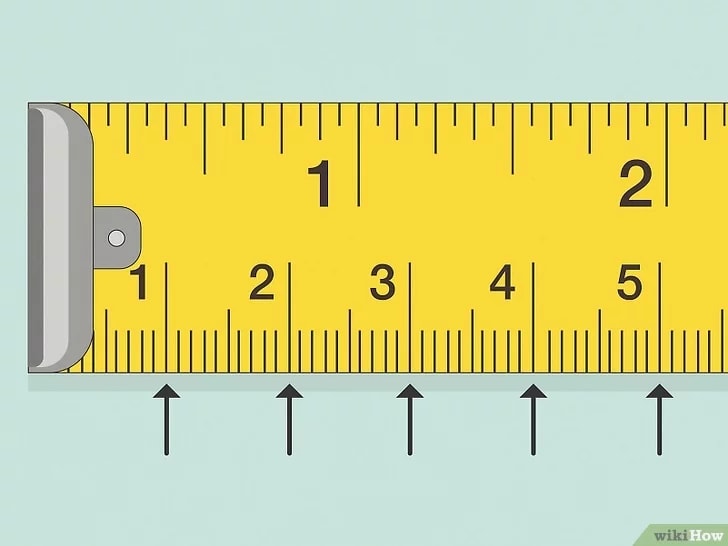
How Do You Read a Tape Measure in Centimeters and Millimeters?
Metric tapes are divided into centimeters (each numbered) and millimeters (10 per centimeter). To read a metric tape measure, identify the last full centimeter mark, then count the small millimeter lines past it.
Example: Reading a Metric Measurement
If the measurement falls on the 4 cm mark and three small lines past it, you are reading 4.3 cm. This precision is particularly useful in pattern making, where pattern making measurements need to be exact for pieces to fit together correctly.
What Are the Best Tips for Accurate Body Measurements for Clothing?
- Hook Position: Push or pull the hook tight against the object — the slight play in the hook compensates for its own thickness.
- Keep the Tape Flat: Avoid sagging or twisting; keep the tape straight and flush against the surface.
- Measure Twice: Confirm every reading before cutting — especially critical for body measurements for clothing where errors compound through the pattern.
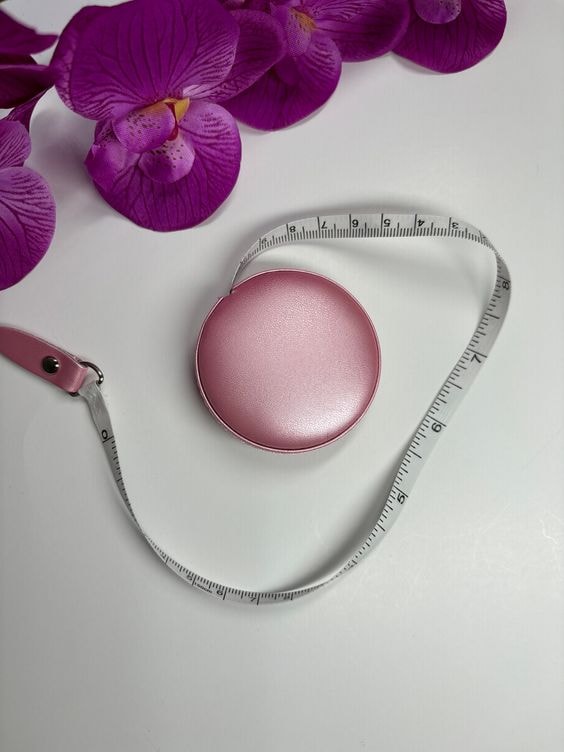
- Use a Flexible Tape: For body measurements use a cloth or fiberglass tape that molds to body curves rather than a rigid metal tape.
- Consistent Tension: Keep the tape snug but never tight — over-tensioning causes garments to come out too small.
How Do Fashion Designers Take and Apply Body Measurements?
Body Measurements for Clothing
Accurate body measurements for clothing are the foundation of well-fitting garments. Teams that store and share these numbers inside a fashion PLM platform keep size runs consistent across every style. Here’s the standard set of measurements:
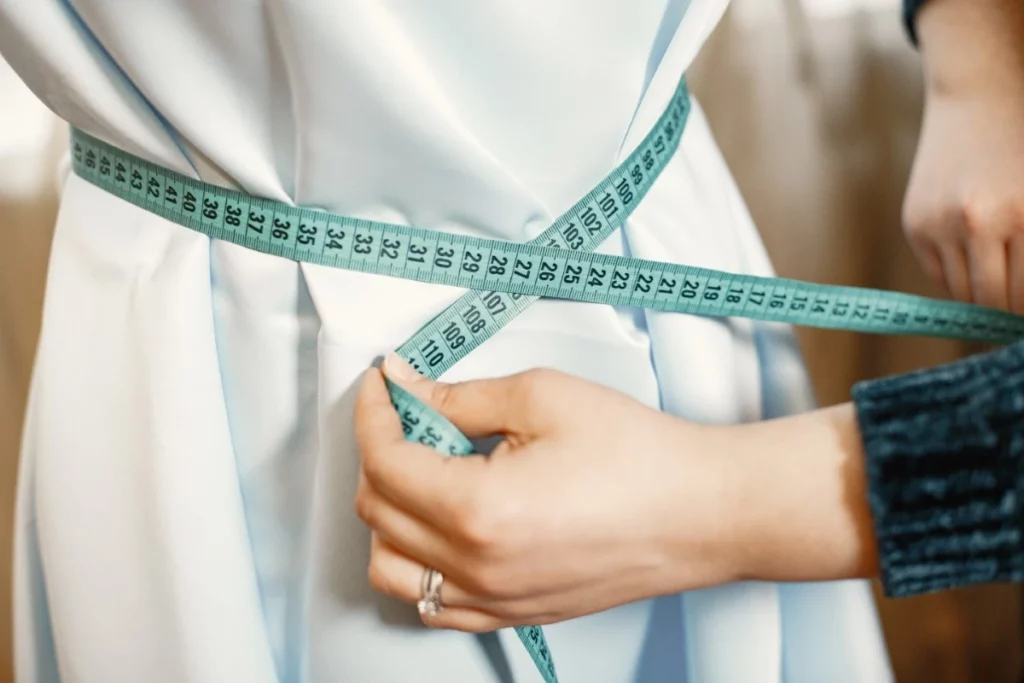
1. Bust/Chest: Measure around the fullest part, keeping the tape horizontal and snug but not tight.
2. Waist: Measure around the narrowest part, usually just above the navel.
3. Hips: Measure around the fullest part, typically 7–9 inches below the waist.
4. Inseam: Measure from the crotch to the bottom of the ankle, along the inside of the leg.
5. Arm Length: Measure from the shoulder point to the wrist, with the arm slightly bent.
6. Shoulder Width: Measure from one shoulder point to the other across the back. See our full guide on shoulder-to-shoulder fit.
Pattern Making Measurements
When drafting patterns, every pattern making measurement must be exact. A fashion PLM system can hold your approved block measurements and automate grading, removing manual re-entry errors.
1. Drafting Blocks: Use body measurements to create basic blocks — the foundation for more complex patterns.
2. Seam Allowances: Add ¼–½ inch seam allowances to every pattern piece; vary this based on seam type and fabric weight.
3. Grading: Scale each size increment consistently so the fit is predictable across the full size run.
Fabric Cutting
1. Grainline: Always align pattern pieces with the fabric’s grainline to prevent distortion and stretching.
2. Marking: Use a fabric marker or tailor’s chalk to mark cutting lines clearly before cutting.
3. Using Weights: Place fabric weights on the cloth to keep it flat and stable while you measure and cut.
What Tape Measure Mistakes Should Fashion Designers Avoid?
1. Not Starting from Zero: Some tapes have a small gap before the first mark — always confirm you are starting at zero.
2. Ignoring Wear and Tear: Stretched or faded tapes produce consistently wrong readings. Replace yours every 1–2 years.
3. Measuring Over Thick Clothing: Take body measurements over thin, fitted clothing or directly on the skin.
4. Not Recording Immediately: Write measurements down the moment you take them — memory errors are a top source of costly re-cuts.
What Advanced Measurement Techniques Do Professional Fashion Designers Use?
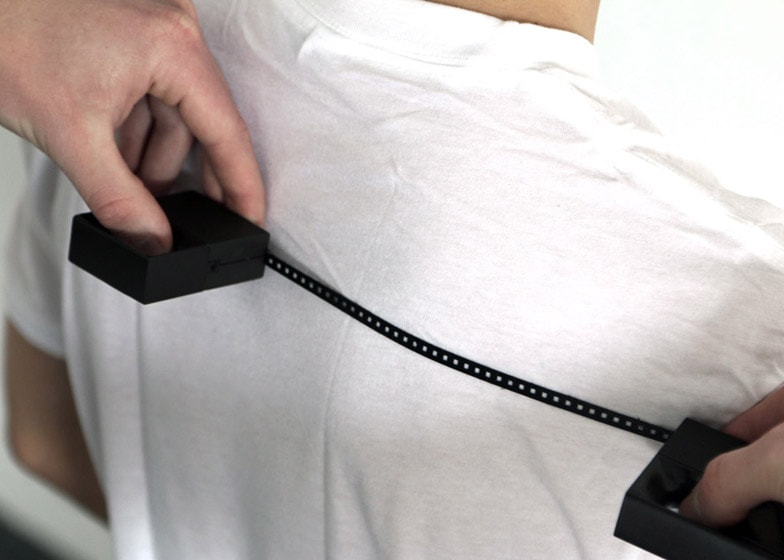
1. Digital Tape Measures: Display readings on a digital screen, eliminating fraction-reading errors. Look for models with memory storage, unit-conversion, and Bluetooth connectivity to sync directly with design software.
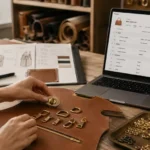
2. PLM Software Integration: Modern fashion PLM software can import measurements directly from digital devices, draft patterns from stored measurements, and automate size grading — reducing manual re-entry and the errors that come with it.
Measurement – dezeen.com
3. Continuous Learning: Attend industry workshops, enroll in online courses, and subscribe to fashion publications to stay current with evolving measurement tools and techniques.
Tape Measure Glossary for Fashion Designers
- Seam allowance — Extra fabric (typically ¼–½ inch) added beyond the stitch line; always add this before cutting.
- Grainline — The direction of the fabric’s woven threads; pattern pieces must align with the grainline for proper drape.
- Grading — Scaling a pattern up or down between sizes using consistent measurement increments.
- Ease — The difference between body measurements and finished garment measurements; allows room for movement and comfort.
- Inseam — Inside leg measurement from crotch to ankle; critical for trouser and legging fit.
- Tolerance — Acceptable deviation from the target measurement (e.g., ±¼ inch), specified in tech packs for quality control.
Conclusion
Knowing how to read a tape measure for fashion designers is a foundational skill that touches every stage of garment production — from taking body measurements for clothing to dialing in pattern making measurements and cutting fabric accurately. By mastering both imperial and metric sewing tape measure markings and following the tips in this guide, you will consistently produce precise measurements that lead to better-fitting garments and more satisfied clients.
Combine accurate hand-measuring with a fashion PLM system to centralize your size data, automate grading, and keep measurement tolerances consistent across every product — turning precision at the tape measure into precision at every stage of production.


Leave a Reply