Every successful knitting or crochet project starts with understanding one crucial element that many crafters overlook: the yarn band wrapped around each skein. These small paper labels contain a wealth of information that can make the difference between a beautiful finished project and a costly mistake. Whether you’re a beginner picking up knitting needles for the first time or an experienced knitter looking to refine your yarn selection skills, mastering the art of reading yarn labels will transform your crafting experience.
Yarn bands, also called ball bands or yarn labels, serve as your comprehensive guide to everything you need to know about a particular yarn. From fiber content and care instructions to gauge recommendations and dye lot information, these labels pack essential details into a compact format. Understanding how to read yarn labels effectively will help you choose the right materials, calculate yarn requirements accurately, and care for your finished projects properly.
Key Takeaways
- Yarn bands contain essential information including fiber content, weight category, yardage, gauge, and care instructions
- Always buy yarn from the same dye lot to ensure color consistency in your project
- Yarn weight categories range from 0 (lace) to 7 (jumbo) and help determine project suitability
- Keep yarn bands for future reference, care instructions, and project documentation
- Understanding yarn bands helps you make informed decisions when selecting yarn for knitting or crochet projects
What Are Yarn Bands and Why They Matter
Yarn bands are the informational labels wrapped around yarn skeins, functioning as both care labels and instruction manuals for crafters. These seemingly simple wrappers have evolved from basic product branding into sophisticated technical guides that distill complex manufacturing and care information into an accessible format.
Reading yarn labels is crucial for successful knitting and crochet projects because they provide vital matching data that prevents visible flaws in your finished work. Without this information, you might inadvertently mix different dye lots, creating unwanted color variations, or choose incompatible yarn weights that result in ill-fitting garments.
The role of yarn bands in preventing costly mistakes cannot be overstated. Consider that roughly one-third of knitters naturally knit looser or tighter than published gauge recommendations. Without understanding the gauge information on your yarn label, you might complete an entire sweater only to discover it doesn’t fit. Similarly, ignoring care instructions could lead to accidentally shrinking a wool yarn project or damaging delicate fibers during washing.
Not all yarn companies provide the same level of detail on their labels. Mass-produced yarns from major yarn brands typically offer comprehensive information, while indie dyers might provide more basic details. Understanding these variations helps set appropriate expectations and guides your yarn purchasing decisions.
Essential Information Found on Yarn Bands
Most labels follow standardized conventions established by industry groups like the Craft Yarn Council, though variations exist between manufacturers and regions. The amount of information varies significantly between commercial producers and smaller yarn companies, with indie dyers often providing hand-labeled bands with essential but limited details.
Brand Name and Yarn Identification
The yarn brand name appears prominently on most labels, identifying the manufacturer such as Lion Brand, Rowan, or local indie dyers. Equally important is the specific yarn name or product line, like Lion Brand Heartland or Rowan Felted Tweed. This information proves essential when you need to purchase additional skeins or want to replicate a project later.
Many labels also include yarn numbers and product codes that simplify reordering. Some yarn companies assign unique identifiers to each yarn line, making it easier to find the exact same yarn even if color names change or get discontinued. Recording this information in your project notes ensures you can source matching materials for repairs or future projects using the same yarn.
Fiber Content and Material Composition
Fiber content listings show the exact percentages of materials used, such as “80% wool, 20% nylon” or “100% cotton.” This information directly impacts how the yarn behaves, its warmth properties, durability, and required care. Different fibers have distinct characteristics – wool provides excellent warmth and elasticity, cotton offers breathability and structure, while synthetics add durability and easy care.
Blended yarns combine the benefits of multiple fibers. A wool yarn with a small percentage of nylon gains strength and wear resistance, making it ideal for socks or heavily used items. Understanding these combinations helps you select appropriate yarns for specific projects.
Special treatments like superwash appear in fiber content descriptions. Superwash wool has been chemically treated to remove the scales that cause felting, making it machine washable. However, this treatment also changes the yarn’s behavior, often making it less elastic and more prone to growing with wear.
Some labels display certifications such as Global Organic Textile Standard (GOTS) for organic fibers or Oeko-Tex 100 for human-ecological safety. These indicators help environmentally conscious crafters make informed choices aligned with their values.
Yarn Weight Categories and Thickness
The Craft Yarn Council’s standardized weight system uses numbers from 0 to 7, with corresponding symbols that appear on yarn labels. This system helps crafters quickly identify appropriate substitutions and understand project requirements:
|
Weight |
Category |
Common Names |
|---|---|---|
|
0 |
Lace |
Cobweb, thread |
|
1 |
Super Fine |
Fingering, baby |
|
2 |
Fine |
Sport, baby |
|
3 |
Light |
DK, light worsted |
|
4 |
Medium |
Worsted, afghan |
|
5 |
Bulky |
Chunky, craft |
|
6 |
Super Bulky |
Super chunky |
|
7 |
Jumbo |
Jumbo, roving |
Yarn weight categories directly influence project suitability, recommended needle or hook sizes, and expected gauge. A lace weight yarn works beautifully for delicate shawls but would be impractical for warm winter accessories, while jumbo weight excels for quick projects like arm knitting but lacks the refinement needed for detailed colorwork.
Yardage and Physical Weight Specifications
Yardage information appears in both yards and meters per skein, indicating the total length of yarn available. This measurement proves more critical than physical weight for project planning because different fibers have varying densities. A 50-gram ball of cotton yarn contains significantly less yardage than the same weight in mohair due to cotton’s greater density.
Physical weight listings in grams and ounces help with international pattern conversions and shipping calculations. However, experienced crafters rely primarily on yardage when calculating yarn requirements. Two skeins of different yarns might weigh the same but provide vastly different amounts of usable material for your project.
When following free patterns or designing your own projects, yardage tells you exactly how much yarn you need regardless of how it’s packaged. This information becomes especially valuable when substituting yarns or combining multiple skeins from your stash.
Gauge Information and Needle Recommendations
Gauge specifications show the expected number of stitches and rows per 4×4 inch (10×10 cm) square when worked on the recommended needle or crochet hook size. This information provides a starting point for your own gauge swatch, though individual tension varies significantly between knitters and crocheters.
Recommended needle sizes appear as both US and metric measurements, accommodating different regional preferences. The suggested gauge serves as the manufacturer’s guidance based on the yarn’s construction and intended use. However, achieving the exact published gauge isn’t always necessary – many projects benefit from tighter or looser fabric depending on the desired drape and structure.
A loose knitter might need smaller size knitting needles than recommended to achieve the suggested gauge, while tight knitters may require larger needles. This variation explains why gauge squares are essential before starting any fitted project, regardless of what the yarn label suggests.
Color Details and Dye Lot Numbers
Color information includes both descriptive names and numerical codes that help identify specific shades. More importantly, dye lot numbers indicate which batch the yarn came from during manufacturing. This seemingly minor detail has major implications for project success.
Using yarn from the same dye lot ensures color consistency throughout your project. Even slight variations between lots can create visible stripes or patches in large projects like sweaters or afghans. The difference might not be noticeable when comparing individual skeins, but becomes obvious when worked into fabric.
For large projects requiring multiple skeins, purchase all your yarn at once from the same dye lot. If you must buy additional yarn later and can’t find the same lot number, you can minimize the visual impact by alternating skeins every few rows or strategically placing the different lots in less visible areas.
Care Instructions and Symbols
Care symbols follow international standards, using pictographic representations for washing, drying, ironing, and dry cleaning requirements. Understanding these symbols prevents damage to both your yarn and finished projects.
Wool yarns typically display symbols indicating hand wash only or gentle machine cycles with cool water. Cotton yarn might show machine washing symbols with higher temperature tolerances. Synthetic fibers often allow for standard machine care with few restrictions.
Special attention should be paid to symbols with X marks, which indicate prohibited treatments. A crossed-out tumble dry symbol means the item must air dry, while a crossed-out iron warns against direct heat application. These washing instructions become particularly important for baby clothes and other items requiring frequent laundering.

Special Types of Yarn Bands
Commercial yarn manufacturers typically provide comprehensive labels with complete technical specifications, standardized symbols, and detailed care instructions. These yarns labeled with extensive information make project planning straightforward and substitutions easier to calculate.
Indie dyers often create hand-labeled bands with essential but limited information. These smaller producers might focus on fiber content, approximate weight category, and basic care instructions while omitting detailed gauge specifications or precise yardage measurements. The charm of supporting small businesses comes with the trade-off of having less technical data available.
Hand-dyed yarns frequently carry special considerations not found on commercial labels. Color variations within skeins, called pooling or flashing, might be noted. Some indie dyers include washing instructions specific to their dyeing process or recommend particular techniques for maintaining color vibrancy.
International yarn bands reflect regional labeling conventions and may use different measurement systems, care symbols, or weight classifications. European labels often emphasize metric measurements and may use ply counts instead of the American weight system. Japanese labels might include pictorial instructions for non-English speakers.

How to Use Yarn Band Information Effectively
Matching yarn bands to pattern requirements starts with comparing the recommended yarn weight in your pattern to the weight yarn category on your chosen skein. Most patterns specify acceptable weight ranges and provide gauge expectations that should align with your yarn’s specifications.
When calculating yarn needs, focus on total yardage rather than number of balls or skeins. Patterns typically list yardage requirements, allowing you to determine how many skeins you need regardless of how individual manufacturers package their products. A pattern calling for 800 yards might require two 400-yard skeins from one brand or four 200-yard balls from another.
Understanding when to deviate from recommended needle or hook sizes comes with experience and depends on your natural tension. If you consistently knit tighter than average, you might need larger needles than the yarn band suggests to achieve the desired fabric. Conversely, loose knitters often need smaller tools to create structured fabric.
Gauge information helps predict finished project dimensions, but remember that blocking can significantly alter measurements. Many wool yarns bloom and soften after washing, while cotton tends to grow lengthwise with wear. Factor these characteristics into your planning when choosing appropriate yarn for specific projects.
Best Practices for Storing and Organizing Yarn Bands
Always keep yarn bands throughout your project and even after completion. These labels serve as permanent records of your materials and care requirements, proving invaluable when you need to repair items or care for them properly years later.
Creating a yarn band journal or notebook system helps track your stash and project history. Many crafters attach bands to completed gauge swatches, creating a physical reference library of how different yarns behave under their hands. This system becomes particularly valuable when evaluating potential substitutions for future projects.
Digital storage options include photographing yarn bands and storing images with project notes in apps like Ravelry or Evernote. Some crafters create spreadsheets tracking yarn purchases, including band information, purchase dates, and project usage. This approach proves especially helpful for managing large stashes or planning future purchases.
Using bands to track project history creates valuable documentation for your crafting journey. Note which yarns worked well for specific applications, record any modifications needed for gauge, and document care experiences with finished items. This information guides better decision-making for subsequent projects.

Troubleshooting Missing or Lost Yarn Bands
When you encounter yarn without bands or lose labels mid-project, several techniques can help identify yarn characteristics. The wraps per inch (WPI) method involves wrapping yarn snugly around a ruler to estimate thickness and approximate weight category. This technique provides a reasonable starting point for needle selection and substitution planning.
Determining fiber content through burn tests requires extreme caution and should only be attempted by experienced crafters in safe environments. Different fibers burn, melt, or char in characteristic ways – wool smells like burning hair and leaves ash, while acrylic melts into hard beads. However, this destructive testing method should be a last resort.
Counting plies can help identify yarn construction and estimate appropriate gauge ranges. Single-ply yarns often require different handling than multi-ply constructions, affecting both gauge and fabric characteristics. Examining twist direction and tightness provides additional clues about yarn behavior and appropriate applications.
Online resources and apps offer yarn identification communities where experienced crafters help identify mystery yarns from photos. Local yarn shops often employ knowledgeable staff who can provide educated guesses about fiber content and weight categories based on visual and tactile examination.
Common Mistakes When Reading Yarn Bands
Ignoring dye lot numbers ranks among the most common and costly mistakes crafters make. The subtle variations between lots might seem insignificant when examining individual skeins, but create obvious striping in finished projects. Always verify that multiple skeins share the same lot number, and purchase extra from the same lot for large projects.
Misunderstanding yarn weight categories leads to inappropriate substitutions and disappointing results. A thick yarn in one weight category might still be unsuitable for patterns designed for different constructions within that category. Pay attention to both the numeric weight and the specific gauge recommendations.
Over-relying on recommended needle or hook sizes without creating gauge swatches causes fitting problems and fabric issues. Individual tension varies significantly, and environmental factors like humidity can affect how yarn behaves. Always create gauge squares using your chosen needles and yarn before committing to major projects.
Discarding bands too early in the project process eliminates access to crucial information when problems arise. Many crafters remove labels as soon as they start winding yarn, only to realize later they need care instructions or want to purchase additional material. Develop the habit of preserving bands until projects are completely finished.
Not considering care instructions when planning projects can result in items that are impractical for their intended use. Baby clothes requiring hand washing might not suit busy parents, while delicate wool sweaters need different care than everyday cotton garments.
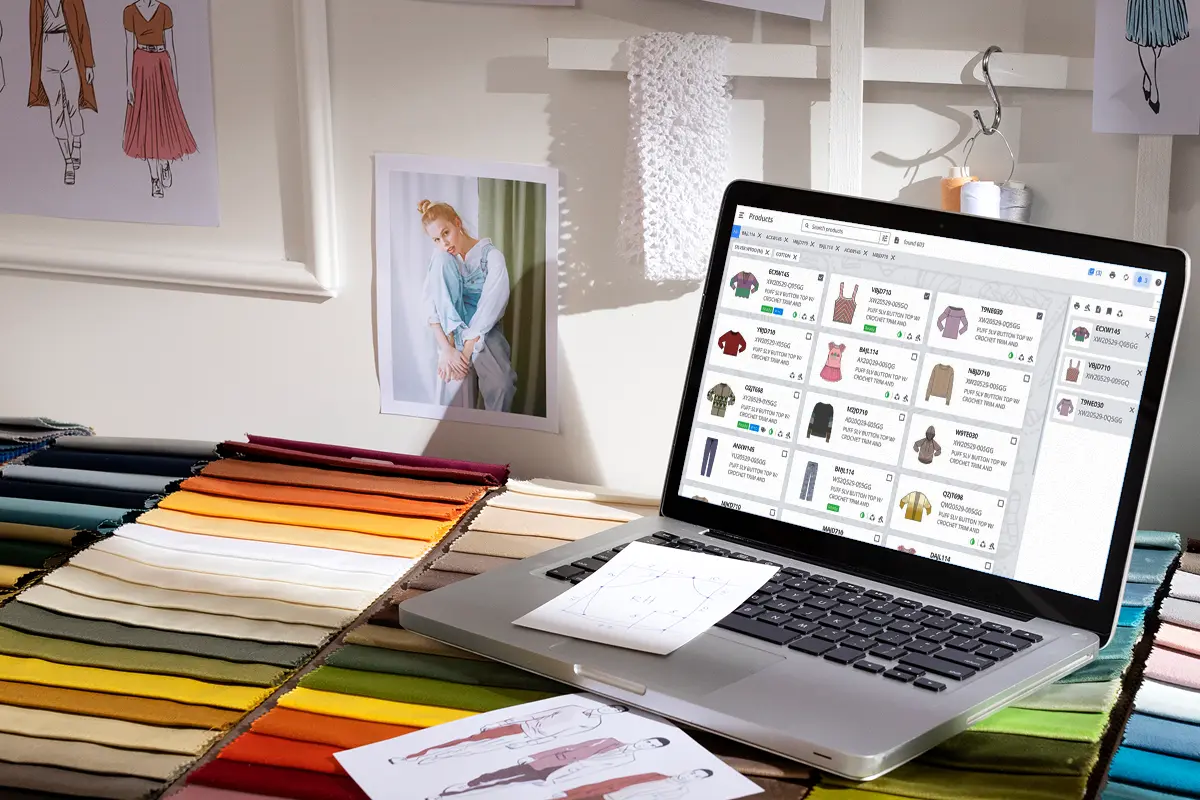
How PLM Software Supports Yarn Selection and Project Planning
Modern fashion and textile businesses increasingly rely on PLM (Product Lifecycle Management) software to manage everything from raw material selection to finished product development. By integrating yarn band information into PLM systems, designers and developers can streamline material sourcing, ensure consistency across dye lots and fiber types, and automate care labeling for different markets.
With centralized access to yarn specifications, teams can make faster, more accurate decisions during design, prototyping, and production—reducing errors, improving sustainability, and accelerating time to market. Whether you’re managing an independent studio or a global apparel brand, PLM software ensures your yarn choices align with quality, compliance, and creative goals.
FAQ
What should I do if my yarn doesn’t have a band? Use the wraps per inch method to estimate weight, examine the fiber visually and tactilely for content clues, and consult with experienced crafters online or at local yarn shops. Document your findings for future reference.
Can I use yarns from different dye lots in the same project? While not ideal, you can minimize the visual impact by alternating skeins every few rows, using different lots for separate pieces (like sleeves), or strategically placing variations in less visible areas.
Why don’t all yarn bands show the same information? Labeling requirements vary by country and company size. Large manufacturers typically provide comprehensive information, while smaller indie dyers might focus on essential details due to cost and space constraints.
How do I convert between different measurement systems on yarn bands? Common conversions include: 1 ounce = 28.35 grams, 1 yard = 0.91 meters. Many online calculators and mobile apps provide quick conversion tools for crafters working with international patterns.
What’s the difference between yarn weight and physical weight? Yarn weight refers to thickness category (lace, worsted, etc.), while physical weight measures the actual mass of the skein in grams or ounces. These are completely different measurements serving different purposes.
Should I always follow the recommended needle size on the yarn band? Use recommended sizes as starting points, but adjust based on your individual tension and desired fabric characteristics. Always create gauge swatches to determine the best needle size for your specific project and knitting style.
How long should I keep yarn bands after finishing a project? Keep bands permanently for care reference and documentation. Many crafters attach them to project notes or photos for future reference when cleaning or repairing finished items.
What does “superwash” mean on a yarn band? Superwash indicates wool that has been chemically treated to prevent felting, making it machine washable. This treatment changes the yarn’s behavior, often making it less elastic and more prone to growing with wear.
Understanding yarn bands transforms yarn selection from guesswork into informed decision-making. These small labels contain the keys to project success, helping you choose appropriate materials, avoid costly mistakes, and care for your finished creations properly. Take time to read and preserve this valuable information – your future projects will benefit from the knowledge and planning that comes from truly understanding your materials.
Whether you’re planning winter accessories, designing baby clothes, or exploring free patterns, mastering yarn band information gives you the confidence to tackle any project. Start building the habit of carefully examining and documenting yarn bands for every skein in your stash. This small investment in organization and understanding pays dividends in every project you create.